

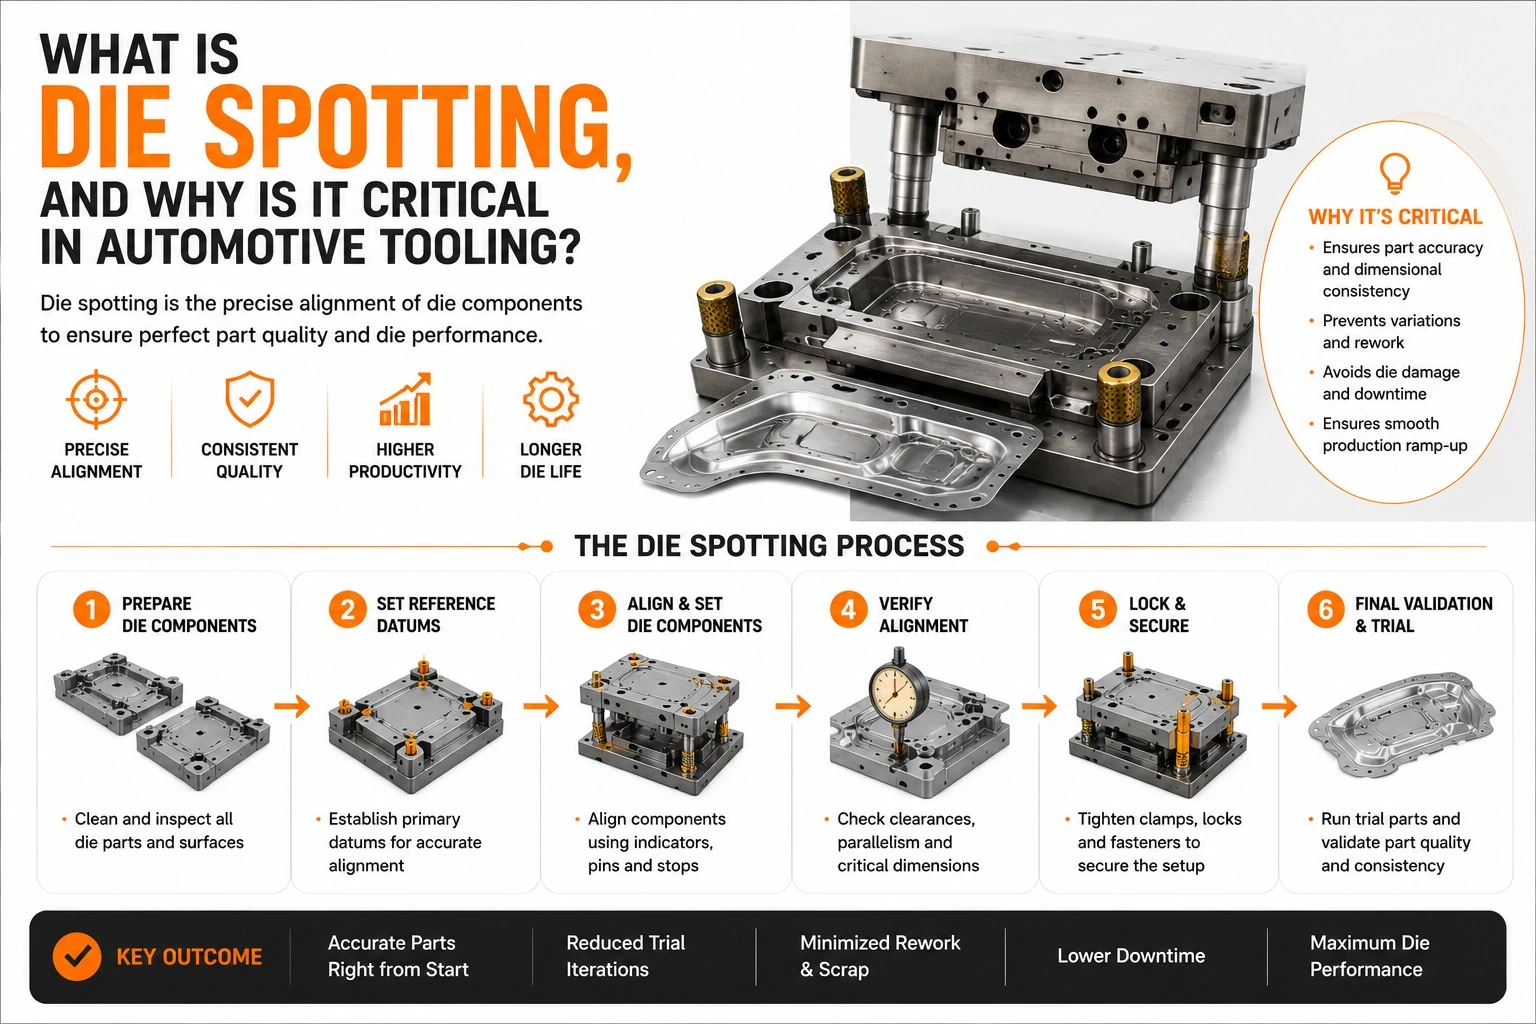
What Is Die Spotting and Why Is It Critical in Automotive Tooling?
CNC machining produces die components to geometric tolerances of ±0.02 to ±0.05 mm. While highly accurate, these tolerances alone cannot guarantee perfect contact between mating die surfaces under production load. Die spotting bridges this gap by ensuring full contact before the die reaches tryout.
What Is Die Spotting?
Die spotting is the process of checking and correcting the contact pattern between mating die surfaces such as binder rings, pressure pads, and flange tool interfaces. The objective is to achieve full and uniform contact across the complete mating surface before tryout begins.
A thin layer of marking compound is applied to one mating surface. The die is closed under load on a spotting press, transferring the compound to high-contact areas and revealing both contact points and gaps.
At Dai-Ichi Tools, die spotting is carried out using ISGEC 100T and INCREDIBLE 300T spotting presses, allowing repeated inspection and correction without occupying production or tryout presses.
Why Full Contact Matters
Binder ring contact: Full binder contact applies uniform blank holder force. Missing contact causes uncontrolled material flow, resulting in wrinkles and inconsistent forming.
Pressure pad contact: Uniform pad contact prevents part movement during forming and improves dimensional accuracy while reducing surface defects.
Flange tool contact: Even flange contact ensures consistent bend angles across the entire flange. Local high spots create over-bending while surrounding areas remain under-formed.
The Spotting Process in Detail
- Step 1 – Apply marking compound uniformly to the mating surface.
- Step 2 – Close the die under representative production load.
- Step 3 – Inspect the transferred contact pattern and identify gaps.
- Step 4 – Carefully remove high spots by grinding or scraping.
- Step 5 – Repeat the spotting cycle until full contact is achieved.
Spotting Standards in Production Die Manufacturing
Industry practice targets 70–80% binder contact before tryout, while production-quality tooling aims for over 90% contact. Dai-Ichi Tools completes binder ring spotting to a minimum 85% contact standard before every tryout, ensuring the press validates forming performance rather than basic contact issues.
FAQs
How long does die spotting take for a transfer die? Simple transfer dies generally require 2–4 days of spotting, while large door inner panel tooling may require 5–10 days across multiple stations.
Can die spotting be verified using only CMM inspection? No. CMM verifies machined geometry, but only physical spotting under representative load confirms actual contact between mating surfaces.
What happens if a die reaches tryout without proper spotting? Inadequate binder contact often results in wrinkled or split parts, increasing tryout time and tooling correction costs for problems that should have been eliminated during spotting.
Transfer and Tandem Die Specialists
Die spotting to 85% contact standard before every tryout — Dai-Ichi Tools, Faridabad, India.
Request a Die Spotting Consultation →